
All
How to Use Jira for Bug Tracking: The 2026 Guide to a Setup That Actually Works
A step-by-step technical guide to setting up a Jira Bug Tracking project in 2026. Learn how to configure workflows, issue types and components for maximum dev speed..
2 min
How to Use Jira for Bug Tracking: The 2026 Guide to a Setup That Actually Works
Jira is the industry standard for a reason. When set up correctly, it’s a powerhouse for organizing tasks and generating productivity insights. But a bad setup is just a cluttered to do list that frustrates your developers.
If you are a CTO or Lead Dev setting up a fresh instance, here is exactly how to build a bug tracking system that actually works.
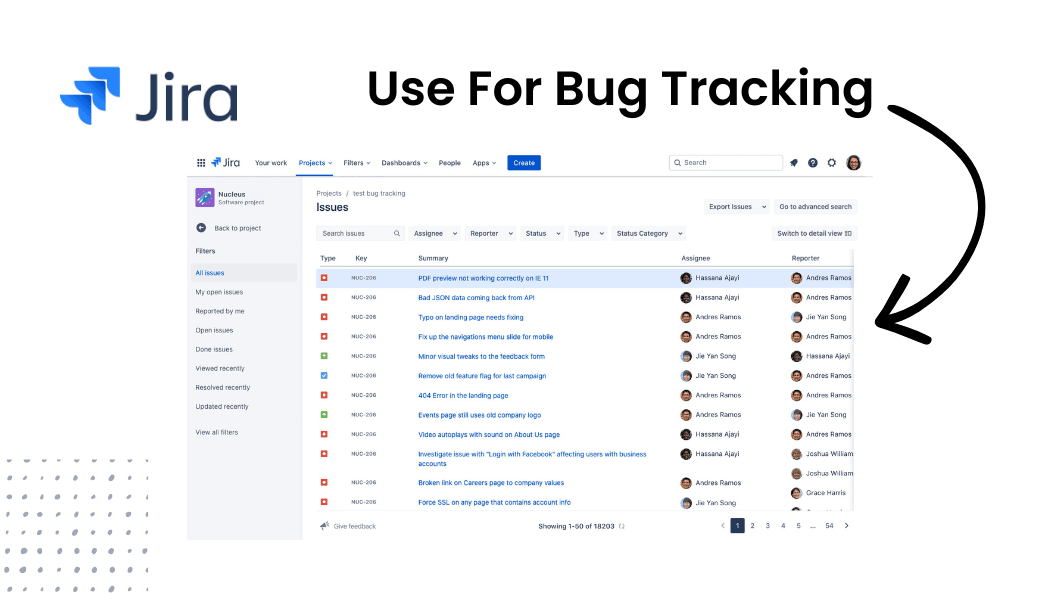
1. The Core Setup: Choosing Your Template
Don't start from a blank "Business" project. You need the specific schemas designed for software.
Create Project: Click the "Create Project" button in your top navigation.
Select Category: Choose Software Development.
Pick the Template: Find the Bug Tracking template.
Why? This template comes pre-loaded with the "Bug" issue type and a workflow that mirrors a standard QA lifecycle (To Do > In Progress > Done).
2. Configuring Your Workflow
Once you click "Use Template", you have a foundation. But for a high performing team, you need two extra statuses to avoid "purgatory" tickets:
"Awaiting Info": For when a dev can’t reproduce a bug and needs more context from the reporter.
"Ready for QA": For when a fix is coded but needs verification before hitting "Done."
3. Mandatory Fields vs. Developer Needs
This is where most Jira setups fail. You need a balance. If you ask for too much info, people won't report bugs. If you ask for too little, devs can't fix them.
At a minimum, ensure your "Bug" issue type includes these fields:
Environment: (Production, Staging, Dev)
Priority: (Highest to Lowest)
Components: (Frontend, Backend, Mobile) to ensure the right lead gets notified.
4. The "Steps to Reproduce" Problem
Even with the perfect setup, your "Description" field is a wildcard. You will inevitably get tickets that say "The button doesn't work" with no other info.
Using Jira is an "ongoing process". Part of that process is constantly chasing down:
What browser was the user on?
What does the console log say?
Can I see a video of the click sequence?
5. Leveling Up: Integrating for Context
As you become more comfortable with Jira, you should explore integrating with other tools. This is where you move from manual tracking to automated fixing.
This is exactly why we built Bugtrotter.
While Jira is the perfect "vault" for your bugs, it doesn't capture the data inside them. Bugtrotter plugs into the Jira project you just built. When someone reports a bug via our widget:
A Jira ticket is created automatically.
A video of the bug is attached.
Console logs, network requests, and system info are appended to the description.
You get the organized structure of Jira without the manual "back and forth" that usually happens in the comments section.
Summary
Use the Software Development > Bug Tracking template.
Add an "Awaiting Info" status to protect dev focus.
Keep the report form simple but use Components for routing.
Automate the context so your team spends more time coding and less time asking questions.
Ready to Supercharge Your Jira?
Build your Jira project using the steps above, then connect Bugtrotter to automate the technical details. Stop the "back-and-forth" and start shipping.
Join the BugTrotter Founding Member Beta for $99/mo. Get Started →
View more articles
Learn actionable strategies, proven workflows, and tips from experts to help your product thrive.